
Why, you ask? This is what my hubby built for me last week:

The lack of work space was driving both me and him crazy! It meant paint cans gathered on the floor, projects scattered on the only table spaces I could find, and no place for brushes.
So we decided to do something about it. Here's the process.
We bought six 8-ft 2x4s, one sheet of particle board, and a 4ft x4ft sheet of hardboard to "top it off." ha! Add in some 2 1/2 inch screws, and we're good to go.
Joe did most of the work, I just held things, etc... (it's what I'm really good at...)
Frame for the top, built just like a wall with 16 inch center studs:
Wall studs, not the other stud in the picture.


Next we got ready to attach the legs in the corners of the frame, starting by rounding off the bottoms of the 2x4's. When you have posts that will rest on the floor and get pulled around, rounding over the edges keeps them from splitting:

...And we attached the legs:

Then we built a similar frame to the top, only a little smaller to fit inside the legs (I'm clumsy, and I knew that if the shelf below was the same size as the top, my poor shins would always be black and blue).

Notice the clamps from corner to corner. Turns out, if your frame is not square, you can figure out which set of corners is "longer," and clamp it until it's squared up! Just measure the length between opposite corners, one of them will have more distance between them. Clamp those two, tightening until both sets of corners are the same length apart. What a handy little trick. and it makes it a whole lot easier in the long run.
You can use it again when you go to put on the sheeting. If it's not square, just clamp the frame and screw down the particle board. After that, the board will hold the frame in place--all squared up forever!
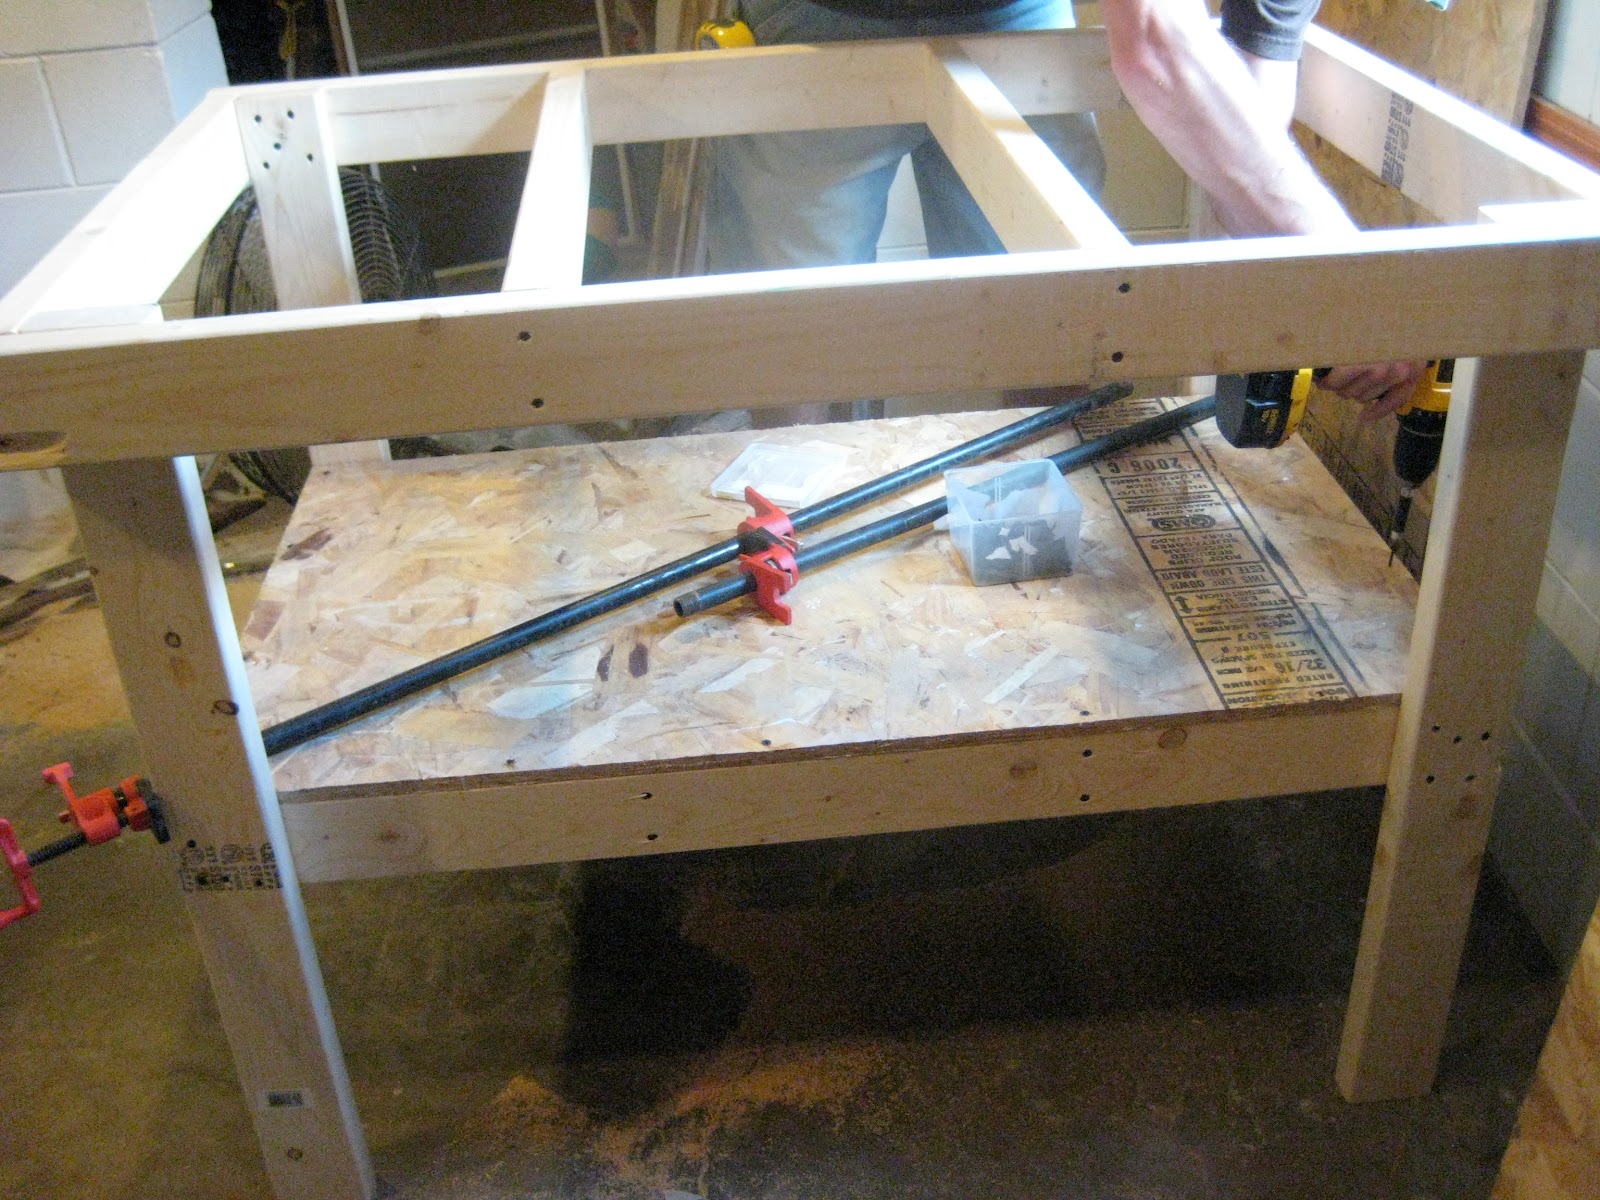
Then, we sheeted the top:

And then topped with a
Hooray!!!

And as you saw before, it's already full. What a handy little table--I've been loving it.
See? Best. Husband. Ever.

Really Really good but I may have the best
ReplyDelete